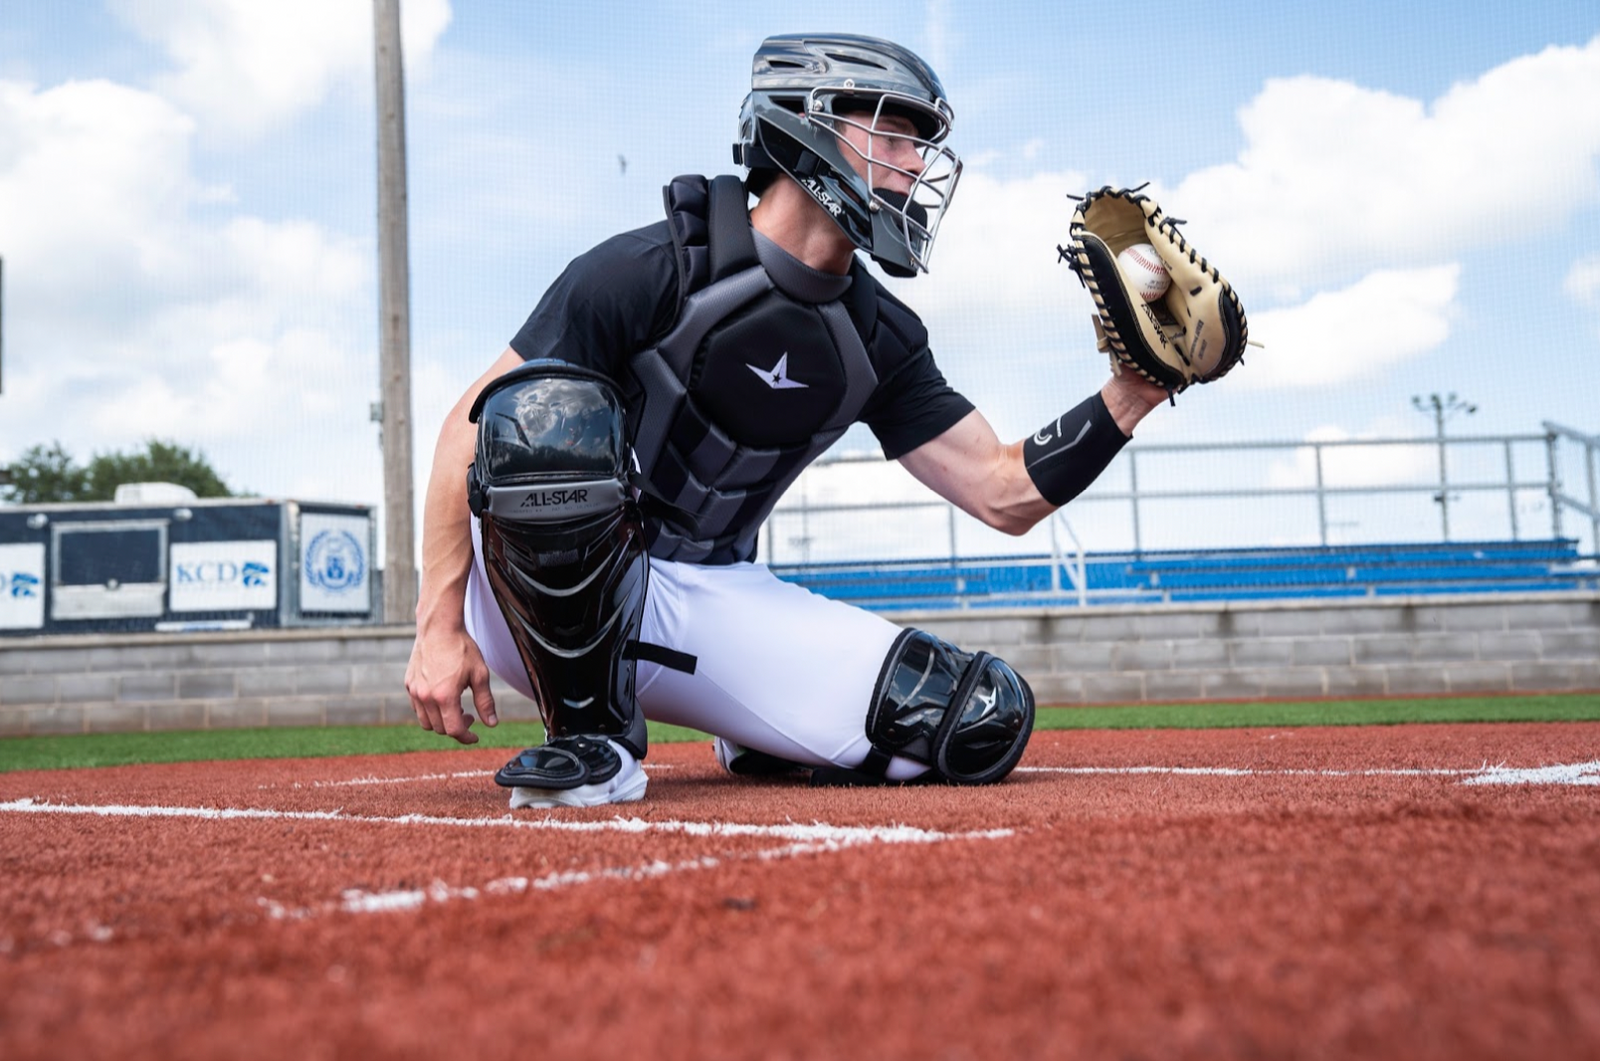
A baseball glove is more than just a piece of sports equipment; it's a player's trusted companion on the field. Whether you're a little leaguer or a seasoned pro, taking proper care of your baseball glove is essential to ensure its longevity and performance. In this article, we'll share valuable tips on how to clean, condition, and break in your baseball glove to maximize its lifespan.
-
Cleaning Your Baseball Glove
Materials Needed:
- Mild soap or leather cleaner
- Clean, damp cloth
- Soft brush (e.g., toothbrush)
- Towel
- Leather conditioner
Cleaning your glove should be a routine part of your baseball season. Here's how to do it:
Step 1: Remove Dirt and Debris
- Use a soft brush or a toothbrush to gently remove dirt and debris from the glove's surface, especially in crevices and stitching.
Step 2: Clean with Mild Soap
- Dampen a clean cloth with water and add a small amount of mild soap or leather cleaner.
- Gently wipe down the glove, focusing on soiled areas.
- Avoid soaking the glove or using excessive water, as this can damage the leather.
Step 3: Rinse and Dry
- Wipe off any soap residue with a clean, damp cloth.
- Pat the glove dry with a towel.
- Allow it to air dry at room temperature, avoiding direct sunlight or heat sources that can cause the leather to become brittle.

-
Conditioning Your Baseball Glove
Conditioning your glove is crucial to keep the leather supple and prevent it from drying out or cracking. Use a leather conditioner designed specifically for baseball gloves.
Materials Needed:
- Leather conditioner
- Clean cloth
Step 1: Apply Leather Conditioner
- Apply a small amount of leather conditioner to a clean cloth.
- Gently rub it into the glove's surface, paying extra attention to the pocket, laces, and any areas prone to wear.
Step 2: Allow for Absorption
- Let the conditioner absorb into the leather for at least 30 minutes to an hour. You can leave it overnight for even better results.
Step 3: Remove Excess
- After absorption, use a clean, dry cloth to wipe off any excess conditioner. The leather should feel slightly tacky but not greasy.

-
Breaking In Your Baseball Glove
Breaking in a baseball glove is a rite of passage for players. It's the process of molding the glove to your hand for a custom fit and optimal performance. Here's how to do it safely:
Step 1: Start with Glove Oil (Optional)
- Some players use glove oil to soften the leather. Apply a small amount of glove oil to the glove's pocket, laces, and other stiff areas. Be cautious not to over-oil, as it can make the glove too soft.
Step 2: Use the Glove
- The best way to break in a glove is to use it during practice and games. Catching and fielding balls will gradually shape the glove to your hand.
- If the glove is too stiff initially, you can gently work the leather by repeatedly flexing and closing the glove with your hand.
Step 3: Form a Pocket
- To create a well-defined pocket, place a ball or a softball in the glove's pocket and tie it shut with a string or rubber bands.
- Leave the glove like this when you're not using it to help it take on the desired shape.
Step 4: Patience Is Key
- Breaking in a glove takes time, so be patient. It may take several weeks of consistent use to achieve the perfect fit.
By following these cleaning, conditioning, and breaking-in tips, you'll extend the lifespan of your baseball glove while ensuring it performs at its best. Remember that regular maintenance is key to preserving your glove's quality, so make glove care a part of your baseball routine. With a well-maintained glove, you'll be ready to make those game-changing catches and plays on the field for seasons to come.
Check out the Guardian Collection!


